How to configure your table map
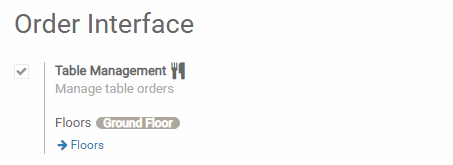
Once your point of sale has been configured for bar/restaurant usage, select Table Management in ..
Once your point of sale has been configured for bar/restaurant usage, select Table Management in ..
Add a floor
When you select Table management you can manage your floors by clicking on Floors
.png)
When you select Table management you can manage your floors by clicking on Floors
.png)
Add tables
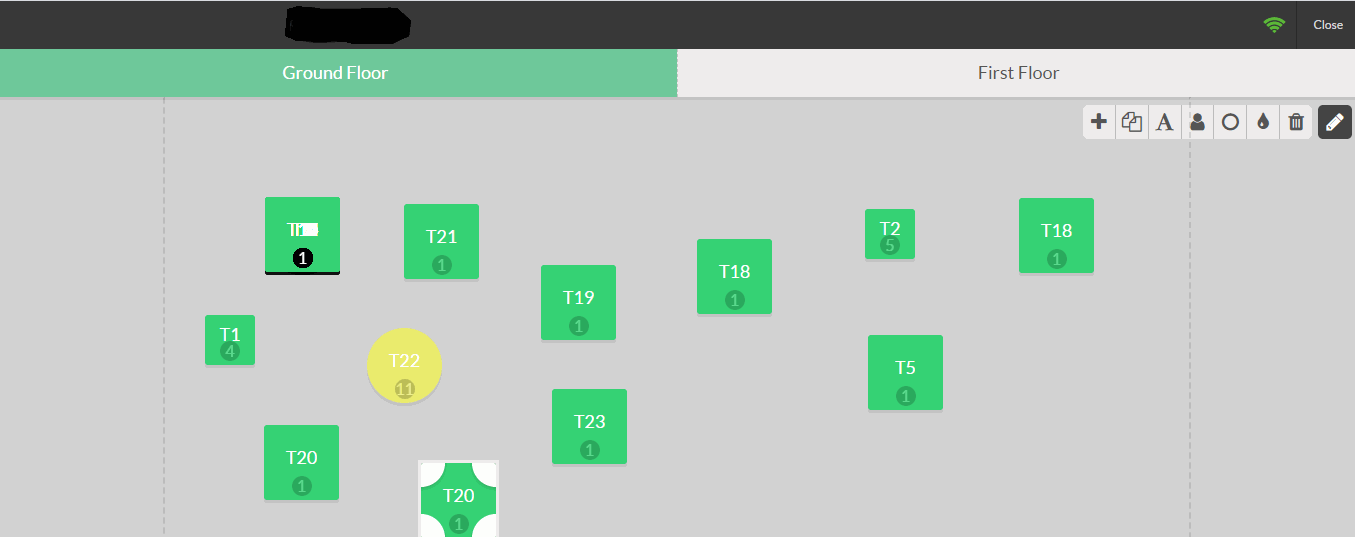
From your PoS interface, you will now see your floor(s).
.png)
When you click on the pencil you will enter into edit mode, which will allow you to create tables, move them, modify them, …
.png)
In this example there is 1 round table for eleven and 11 square tables for one and four, you could rename them, change their shape, size, the number of people they hold as well as duplicate them with the handy tool bar.
Once your floor plan is set, you can close the edit mode.
From your PoS interface, you will now see your floor(s).
.png)
When you click on the pencil you will enter into edit mode, which will allow you to create tables, move them, modify them, …
.png)
In this example there is 1 round table for eleven and 11 square tables for one and four, you could rename them, change their shape, size, the number of people they hold as well as duplicate them with the handy tool bar.
Once your floor plan is set, you can close the edit mode.
Register your table(s) orders
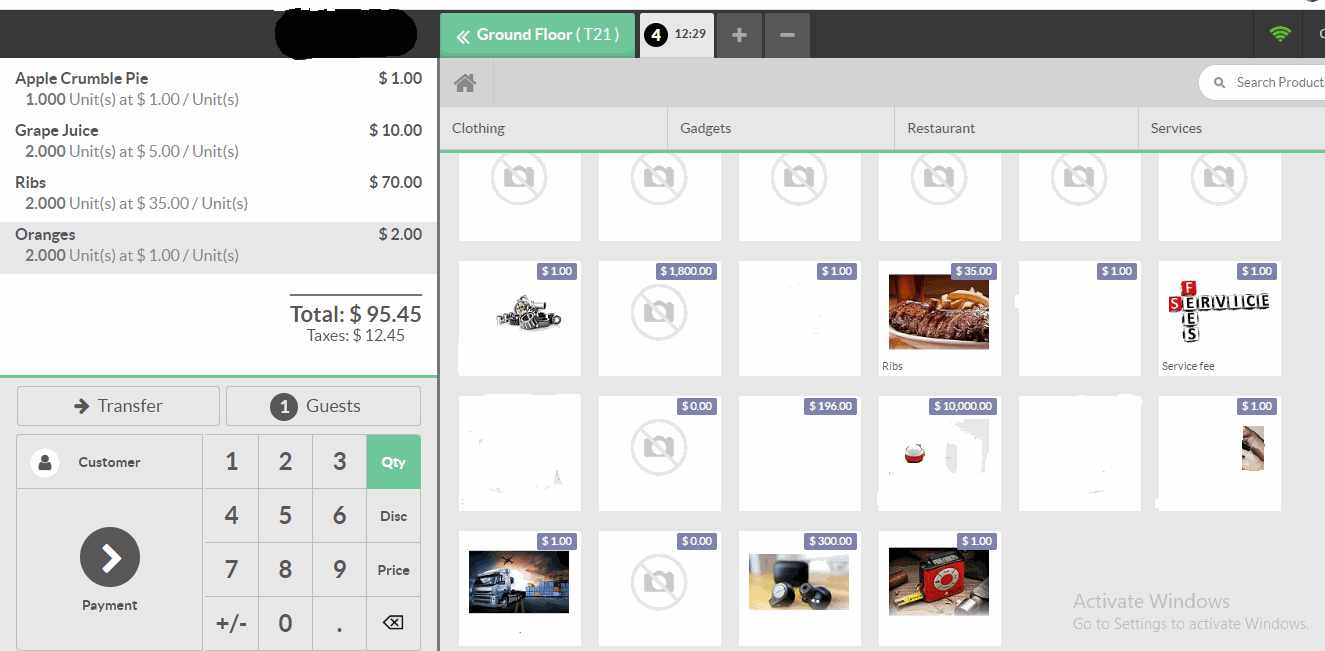
When you select a table, you will be brought to your usual interface to register an order and payment.
You can quickly go back to your floor plan by selecting the floor button and you can also transfer the order to another table.
.png)
When you select a table, you will be brought to your usual interface to register an order and payment.
You can quickly go back to your floor plan by selecting the floor button and you can also transfer the order to another table.
.png)
